From Start to Finish: Building the Mould King Flying Dutchman
I just got my hands on the Mould King Flying Dutchman building kit! There are 3653 pieces in total, plus colorful paper instructions that make assembly easier.
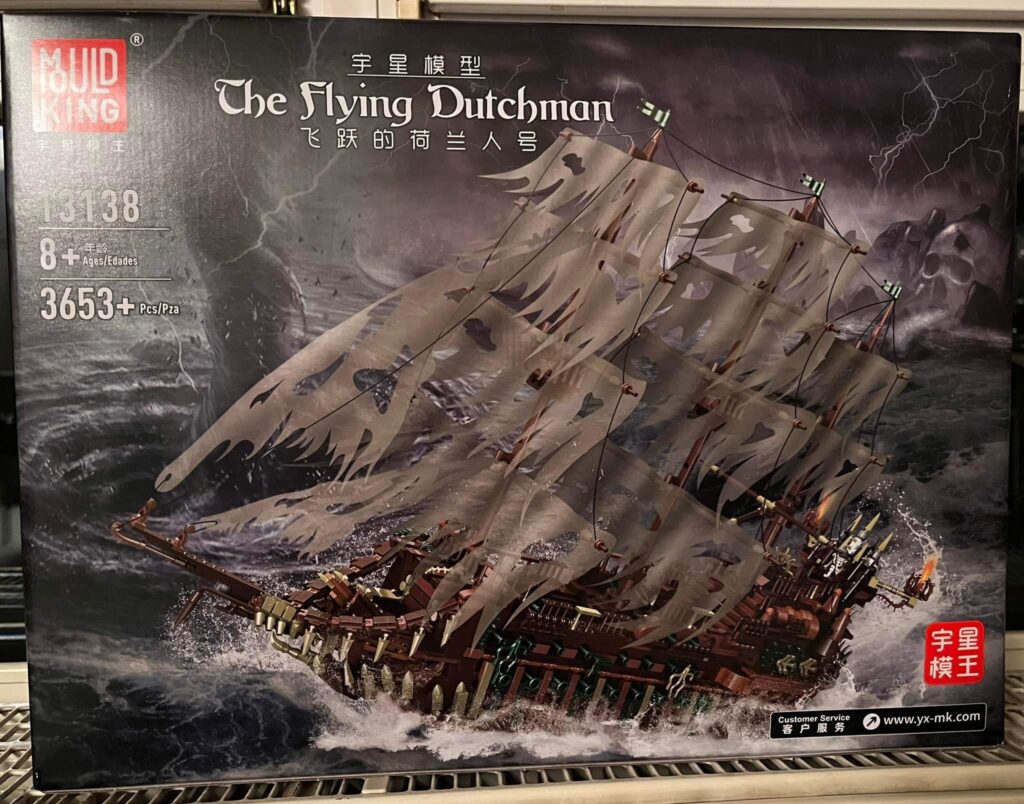
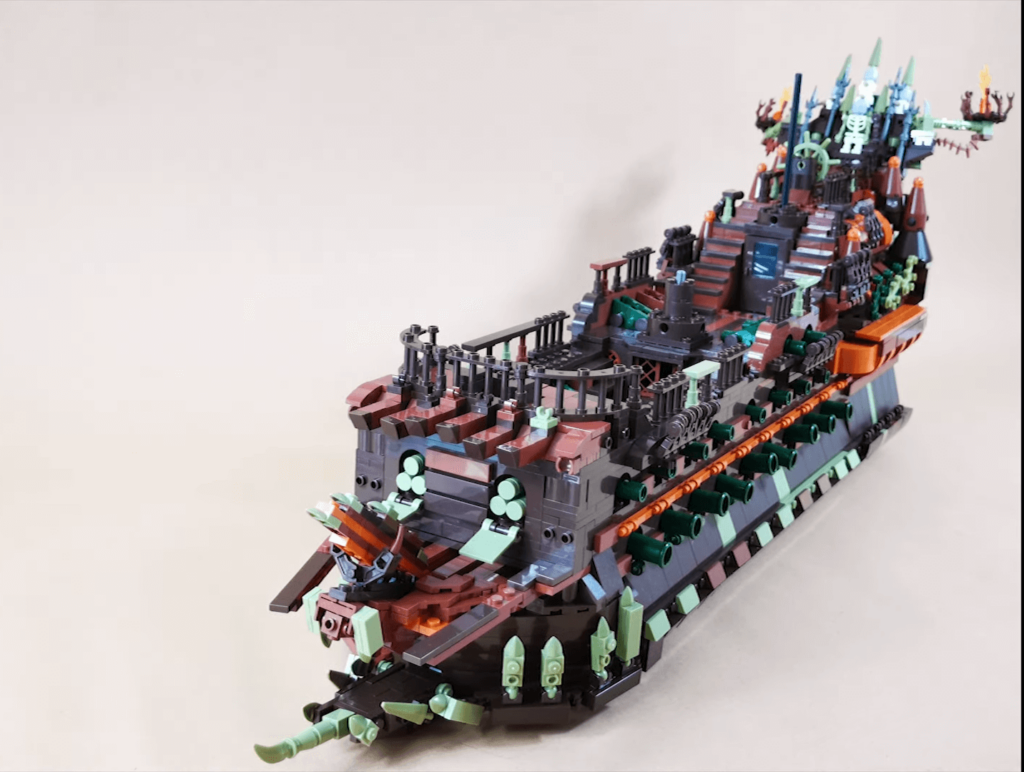
This iconic ship from the Pirates of the Caribbean franchise measures 33” in length, 23.62” tall and 5.9” wide and is full of mystery and legend. With many realistic details like cannons on both sides of the hull, 3 masts and a lookout tower, plus an octopus head logo featured on the deck and stern, this model is sure to be a talking point in any collection. Assembling it was fun – I got to practice practical skills and unleash my creativity too! Now I’m proud to say that I have my own replica Dutchman sailboat built with my own two hands. With the Mould King Flying Dutchman building set, my collection has been taken to a whole new level! Now, I’m ready for some tips and tricks that will help others make the most of this experience.
Preparing for the Build
Before you get started on your Mould King Flying Dutchman building kit, make sure you have everything you need:
- A flat surface, such as a table or desk that is well lit and has enough room for you to spread out the pieces.
- The Mould King Flying Dutchman pieces sorted by color, shape, and size.
- Careful reading of the instructions to ensure that you understand the steps and order in which they should be followed.
- Any tools needed – like tweezers or screwdrivers – to assist with the assembly process.
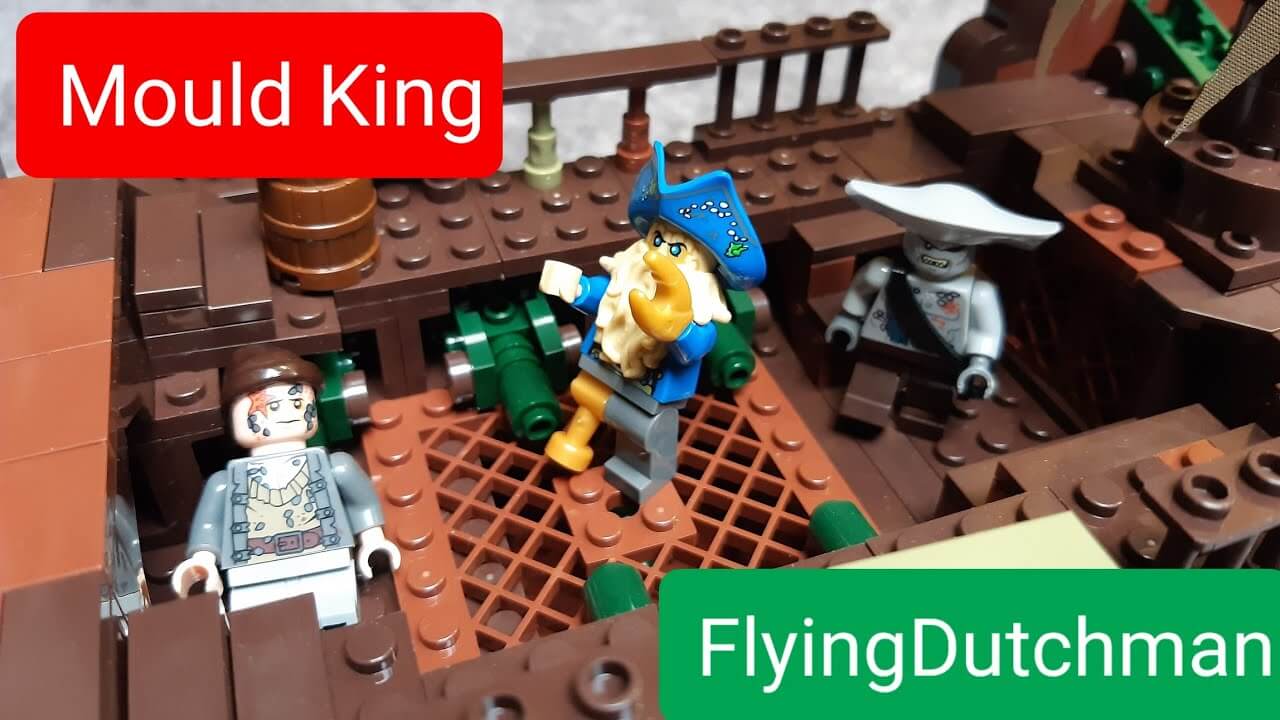
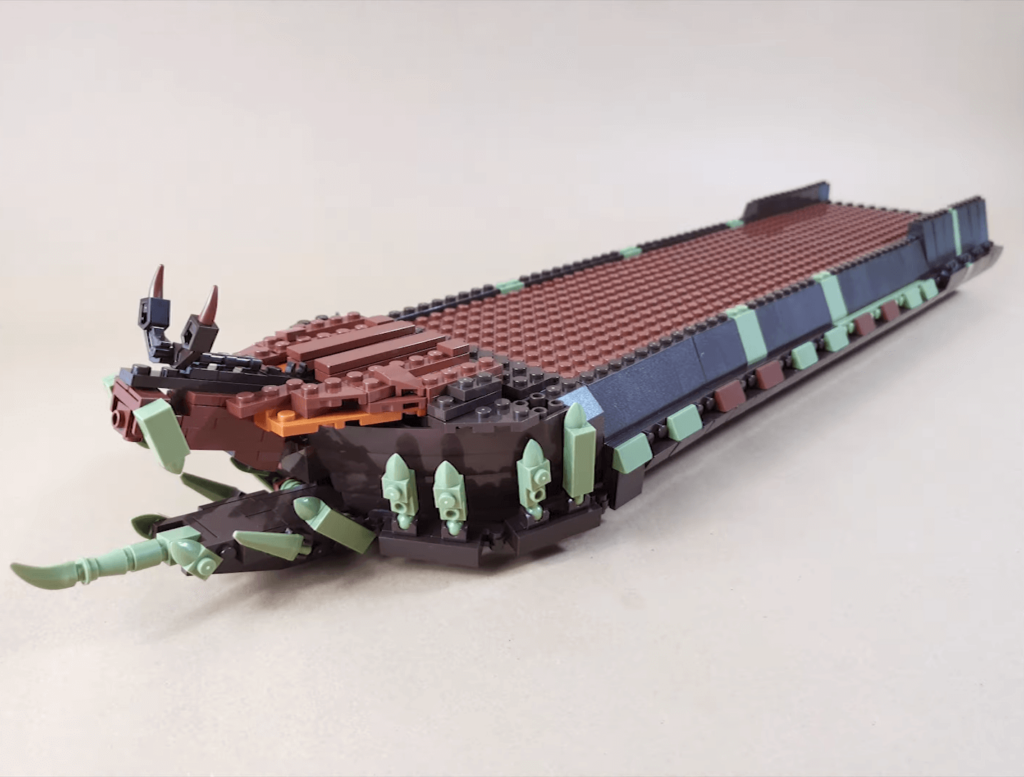
Start to Build the Flying Dutchman Set
Building your Mould King Flying Dutchman set is an exciting and rewarding experience! Follow these steps to ensure that your build goes smoothly:
- Start by building the base of the set, creating a sturdy platform to work on.
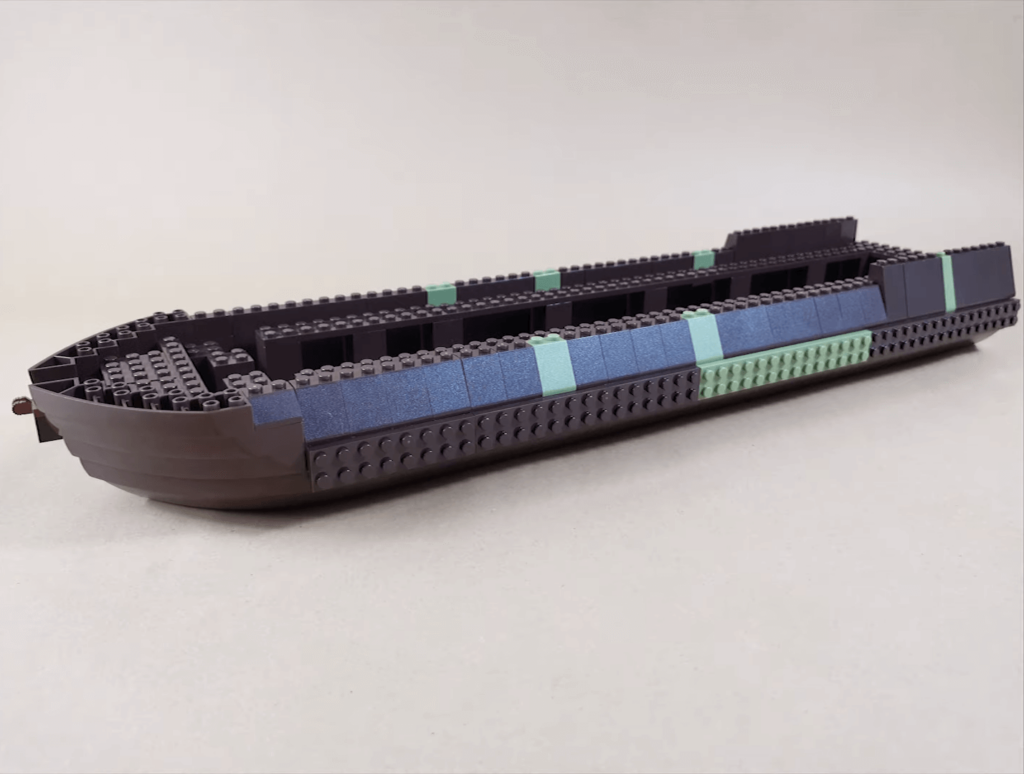
- Divide the set into sections and build them one at a time. This will make it less overwhelming and easier to manage.
- When attaching pieces, hold them from the bottom and press down gently – too much pressure can damage delicate pieces.
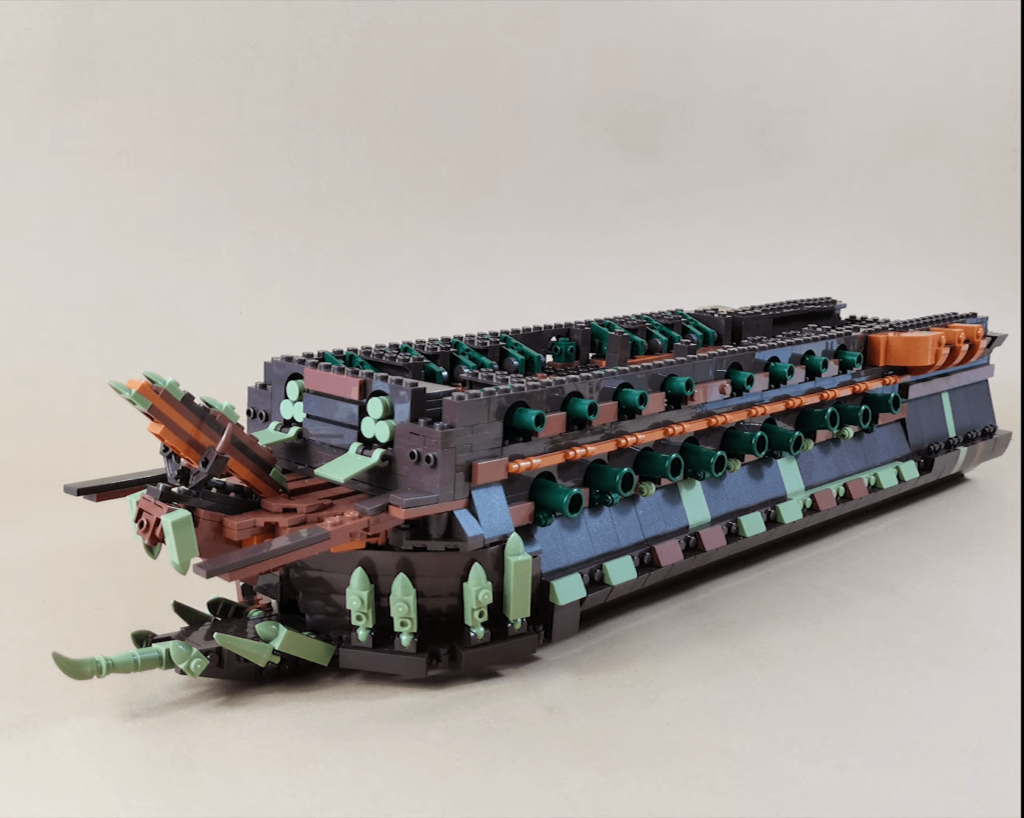
- If you notice that the set is starting to come apart as you build, add supports or use extra pieces from your collection to keep it stable.
- Take the time to align pieces correctly for a polished look. It’s especially important when building something with multiple parts like cannons or wheels.
- Double check instructions if you get stuck or something doesn’t seem right.
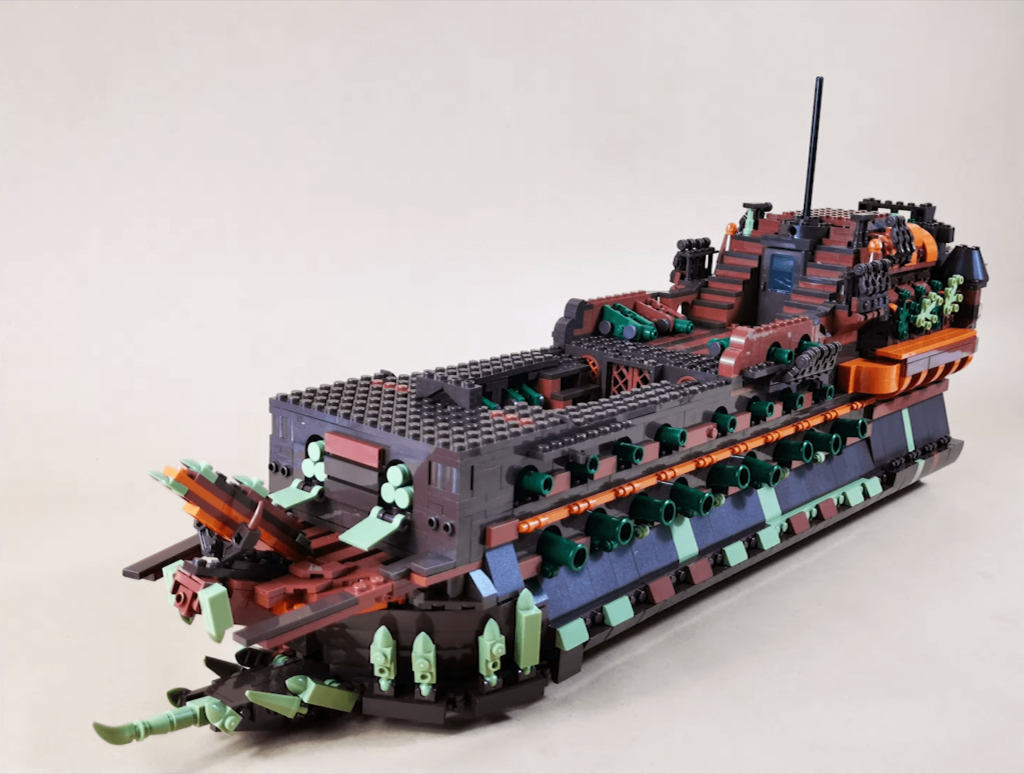
Tips and Tricks to Build Flying Dutchman Set
Building your Mould King Flying Dutchman set is not just an enjoyable task, it is also a great way to hone your LEGO building skills! Here are some helpful tips and tricks to keep in mind when building this set:
- Take your time and be patient. Don’t rush through the instructions or get frustrated when things don’t go as planned – remember, building a LEGO set should be fun!
- Pay close attention to the details as there are many small pieces that look similar but are slightly different. Double check that you are using the correct piece for each step in the instructions.
- Feel free to adjust when necessary – if a piece doesn’t fit or seems to be in the wrong place, try moving it around or taking it apart and putting it back together in a different way.
- Be mindful of fragility – the Mould King Flying Dutchman is quite delicate, especially at its back end. The rigging and sails are also quite thin and can fray easily, so be sure to handle them with care.
- Keep spare pieces handy for repairs or adjustments, as well as any extra thread included with the set.
- If you need help, make use of online resources like Mould King support page https://mouldkingcorp.com/ or brick building fan websites for tips and tricks from experienced builders.
- Invest in a LEGO separator which can make separating pieces much easier while preventing damages to the pieces.
- Have fun! Don’t get too caught up in perfection – enjoy the process of building your Dutchman model!

What You Can Do Additionally?
Want to take your Mould King Flying Dutchman build to the next level? Here are some tips for enhancing your finished model:
- Try using waxed thread to rig rigging from the sails to the ship. This is an extra step not included in the manual, but it adds a great touch of realism and authenticity to the model.
- Use painter’s or masking tape to mask off areas that you don’t want paint on when spraying with lacquer or acrylic finishes.
- Consider putting a coat of clear varnish or enamel to make it more durable and give it a glossy look.
- Experiment with weathering the deck, hull, sails and other elements with various shades of brown and gray fabric paints – this will give your model an aged and realistic look.
- Get creative! Consider adding sails or flags made out of paper, fabric or even plastic sheets. You can also use small LED lights or add rope ladders if you feel adventurous!
Building a Mould King set can be a great way to hone your LEGO building skills! By being patient, paying attention to details, adjusting when necessary and making use of online resources, you can successfully complete this challenging and rewarding task. With some extra love, you can take your finished model to the next level by adding unique touches like waxed thread rigging or light accents. Have fun with it and enjoy creating something that you can be proud of!